...
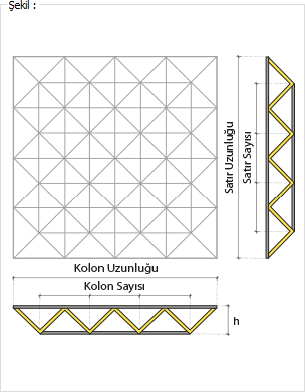
Define the values according to the given shape. The column is the direction of the first two points that we click while drawing a space truss. If we are talking about the settings of a drawn space truss, the direction of the first two points given when drawing refers to the column, the other to the line.
Specifications |
|---|
Element ID Element ID is the name of the space truss that appears in the plan, reports and drawings. |
Column length Enter the column length. |
Column count Enter the number of columns. |
Row length Enter the row length. |
Row count Enter the number of rows. |
Sketch Shows the grid settings on the figure. |
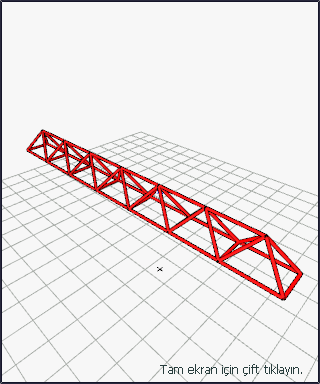
Preview The preview of the space truss formed according to the given values appears in three dimensions. |
Form Settings Tab
...
Specifications |
|---|
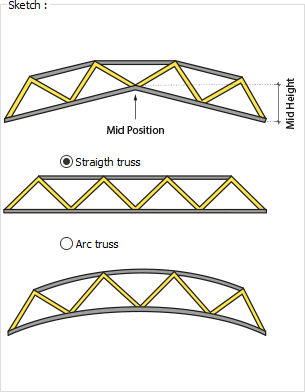
Auto calculate centered mid Places the centered in the middle. |
Mid position The position of the mid is determined by giving a value. |
Mid height After determining the position of the mid, this value refers to the height of the point in question from the space truss. |
Mid on row/Mid on column Give the location of the node where the mid will be found, as the number of the node. If the value you will give is in the row, in the row, and in the column, tick the option. |
Elevation The space to be placed refers to the elevation of the truss. |
Height Space is the distance between the lower header and the upper head of the truss. |
Load section Select the profile of the space truss from the list. If the profile to be used is not in the list, you can load a new profile from the library with the Load Section button. |
Structural material The material for the space truss is selected. |
Sketch It includes options whether the space truss will be arc or straight. |
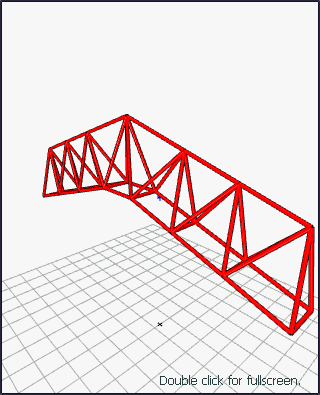
Preview The preview of the space truss formed according to the given values appears in three dimensions. |
Appearance Tab
...
Specifications |
|---|
Color The color of the space truss border lines. The color palette is scrolled by clicking and holding down the left mouse button. |
Line type The line type of the line forming the space truss is selected in the plan. Clicking the down arrow buttons to the right of the boxes opens the list of line types. From this list, the wanted line type is selected by clicking with the left mouse button. |
Material The material to be covered on the solid model of the space truss is selected. The truss are covered with the selected material and displayed as such in the solid pattern. Click on the down arrow button with the left mouse button. The appropriate material is selected from the opened material list. |
Texture world length The texture length is entered. For example; If 1 meter is entered, the selected material texture is taken as 1 meter and covered on the selected object. Considering that the texture is in the form of a square, the object surfaces are covered with 1x1 textures arranged side by side. |
Text placement Determine the position where the space truss name will be written according to the truss according to the shape in the dialog. The program will place the name of the element according to the position selected when the space truss is created. |
X Displacement/Y Displacement X and Y coordinates are entered according to the beam upper right corner of the space truss name. If the dimension X value is positive, the dimension text shifts to the left, if it is negative, it shifts to the right. If the dimension Y value is positive, the dimension text will scroll up, and if it is negative, it will scroll down. |
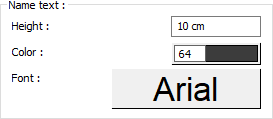
Name text The height of the space truss name text is entered. The color box is slid over the color palette that is opened by clicking with the left mouse button and holding down the button. The button is released when the desired color is reached. The color box turns into the selected color. If clicked together with the Shift key, the pen thickness of the relevant color can be adjusted. If the button just below is clicked, the Font Settings dialog opens. Column Name Text, font is set from this dialog. |
...
Next Topic
...


